![[Creative Commons BY-NC-SA 3.0 Unported License]](https://obdurodon.org/images/cc/88x31.png "Creative Commons BY-NC-SA 3.0 Unported License") Last modified:
2026-02-07T17:14:04+0000
Last modified:
2026-02-07T17:14:04+0000
Maintained by: David J. Birnbaum (djbpitt@gmail.com)
Last modified:
2026-02-07T17:14:04+0000
By default, transforming XML with XSLT in <oXygen/> will render the output of the transformation in the right panel on the screen, but it will not save the file to disk, which is inconvenient if you need to post it to your project site or submit it as homework. This brief tutorial illustrates how to save the output file that you create with your XSLT transformation. It works with any output file type you may be creating (typically either XHTML or other XML).
Step 1: Select the input document in the Select XML source drop down, and the XSLT stylesheet in the XSL drop down. Remember, these are not necessarily the same as the documents that appear in the visible tabs in XML and XSLT window (left and middle panels).
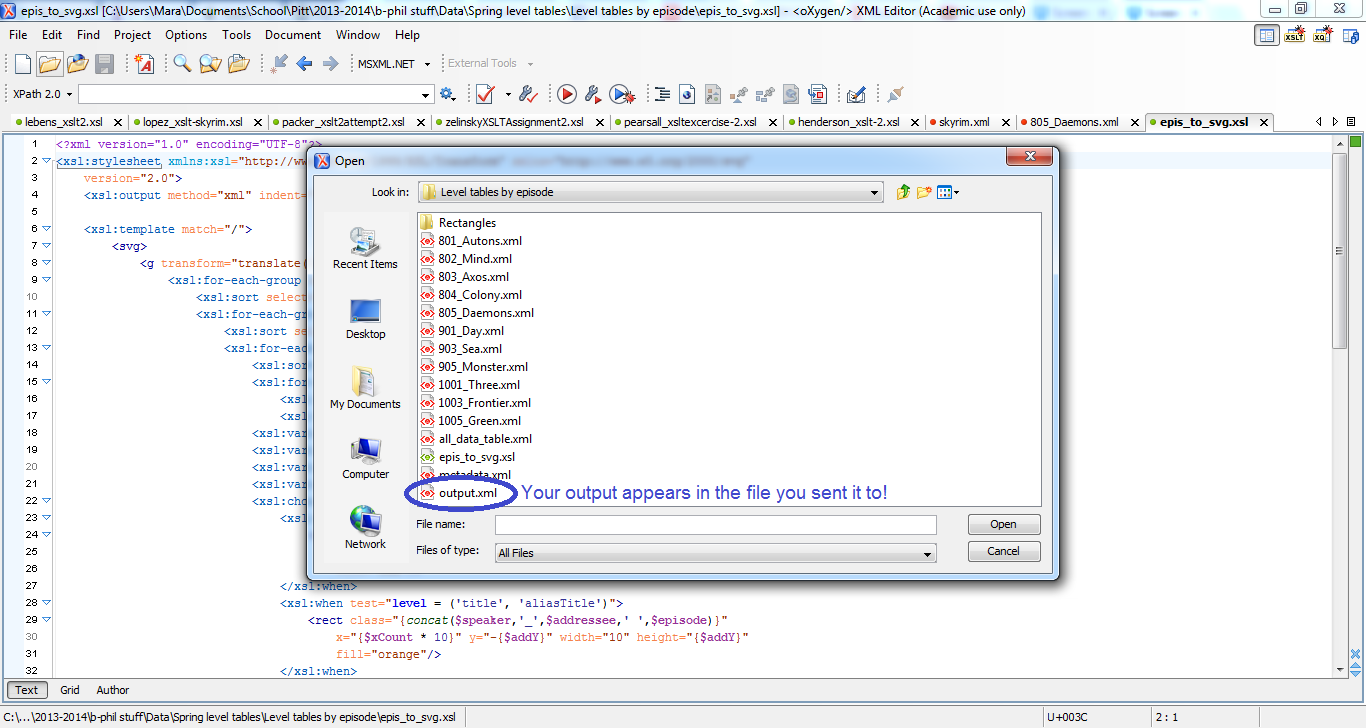
Step 2: In the Output drop down click on the Browse for
local file button to the right of the bar, the one that looks like a file
folder, and navigate to the directory where you want to save your output. Enter a
filename with the correct filename extension (e.g., output.html
to create HTML
output). Alternatively, you can type a filename directly in the output box, but you may
find it easier to ensure that the output goes into the correct directory if you use the
folder icon to navigate there.

Step 3: Execute the transformation the way you usually would. The output will appear in the right panel, but an output file will also be created on your disk. Note that you have to run the transformation after you specify the output filename because the specification tells the system what to name the output file, but only executing the transformation will actually cause the file to be craeted.
Step 4: Search the file in the folder to which it saved, and you will find it with the name you specified.